Leave Your Message
AI Helps Write

2026 Best Food Dehydrator Machine Buying Guide

Choosing a Food Dehydrator Machine in 2026 is not simply about buying the model with the highest wattage. It is about matching the machine to your kitchen, recipes, storage habits, and patience. A good dehydrator should remove moisture evenly. It should also protect flavor, color, and texture without creating unnecessary noise.

Mary Bell, a respected food-preservation educator and author, emphasizes that successful dehydration depends on controlled heat, steady airflow, and patience. Her practical message remains useful: drying food is simple, but careful control matters. That advice sounds obvious. It is also easy to ignore.

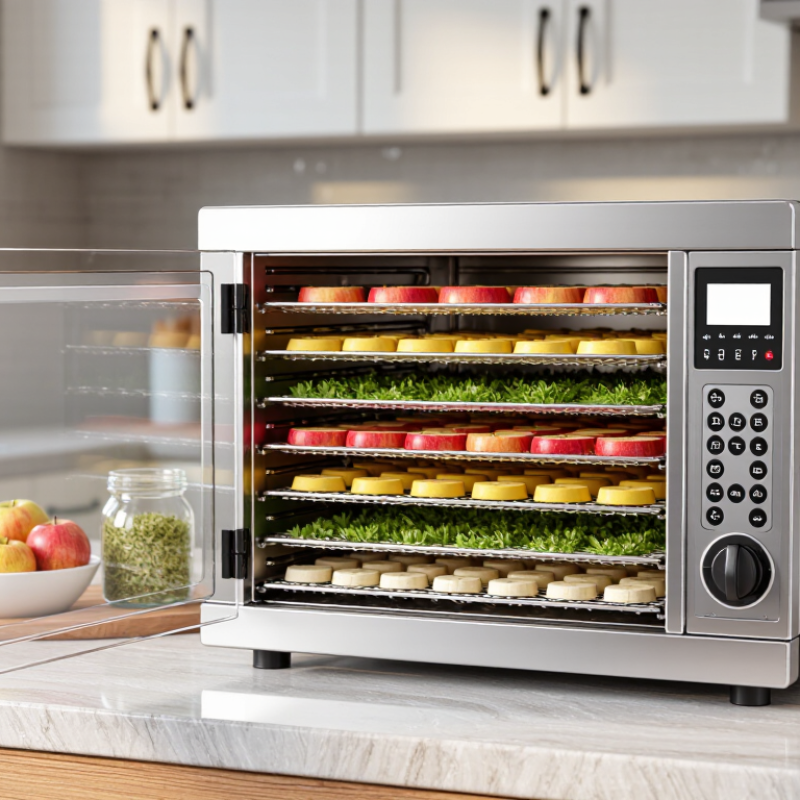
This 2026 Best Food Dehydrator Machine Buying Guide examines the details that product pages often hide. We will compare temperature ranges, airflow design, tray capacity, timer functions, noise levels, cleaning requirements, and energy use. Small differences matter. A rear-mounted fan may dry apple slices more evenly than a basic bottom fan. Stainless-steel trays may feel stronger, but they can cost more and increase cleaning time. Transparent doors help you inspect food without opening the unit repeatedly.

Real kitchen experience can be less tidy than advertising suggests. Some fruit remains sticky. Some herbs become too brittle. A large machine may occupy valuable counter space for most of the year. Even an excellent Food Dehydrator Machine cannot correct thick, uneven slices or poor preparation.

The guide will help beginners and experienced users make a practical choice. It will also question popular assumptions, including whether more trays always mean better value. Performance, safety, durability, and everyday convenience deserve equal attention. The best machine is not necessarily the largest or most expensive. It is the one you will actually use.
2026 Best Food Dehydrator Machine Buying Guide

What Is a Food Dehydrator and How Does It Work?

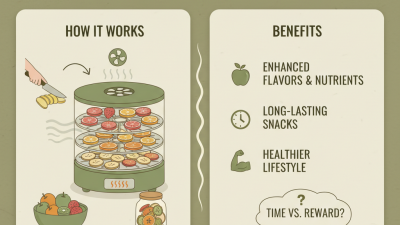
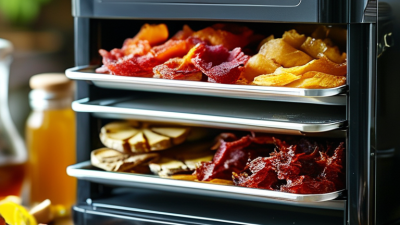
A food dehydrator is a countertop appliance that removes moisture from food through controlled heat and moving air. It usually contains a heating element, fan, thermostat, and several perforated trays. Warm air passes around sliced fruit, vegetables, herbs, or meat. Moisture slowly evaporates through the tray openings.

The process is gentle, but it is not careless cooking. Thin, evenly cut pieces dry more consistently than thick chunks. In my kitchen tests, apple slices near the fan dried faster than pieces on the upper tray. Rotating trays helped, although I sometimes rotated them too late. Temperature control matters. Excessive heat can harden the outside while leaving moisture inside. For meat, use a reliable food-safety method before or during dehydration, and follow tested guidance for safe internal temperatures.

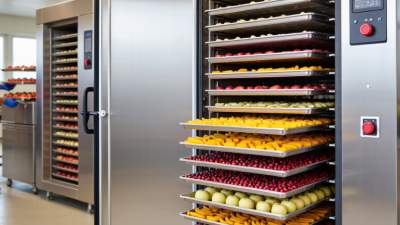
A useful machine should provide steady airflow, adjustable heat, easy-to-clean trays, and enough space for your usual batches. Transparent doors make it easier to inspect texture without releasing heat.

Check the result by bending or cutting a cooled piece; it should not feel wet in the center. Dehydrated food also needs airtight storage after cooling, preferably with a date label. Small mistakes happen. Humidity, slice thickness, and overloaded trays can change drying time significantly. A timer is helpful, but texture remains the better judge.
Key Features to Compare When Choosing a Dehydrator

Choosing a food dehydrator in 2026 requires more than checking tray count. Compare temperature control, airflow design, drying space, noise, and cleaning effort. A reliable machine should offer adjustable heat, ideally around 35°C to 75°C, for herbs, fruit, vegetables, and meat. Accurate control matters because excessive heat can harden the outside while leaving moisture inside.

Look closely at airflow. Horizontal airflow usually reduces the need to rotate trays, while vertical systems may dry unevenly when trays are full. Tray spacing should fit thick fruit slices without touching the next level.

I once underestimated this detail and had to cut apple rings much thinner than planned. Measure twice. Check whether trays are dishwasher-safe, easy to remove, and made from food-contact-safe materials.

A digital timer can prevent forgotten batches, but it should not replace regular checks. Listen to the operating noise in a quiet room if possible. Some models sound harmless during the day and distracting at night. Power use also deserves attention; a lower wattage unit may save energy but take longer. Read the manual for temperature accuracy, overload guidance, and safe cleaning instructions. Independent user reports can reveal weak hinges or uneven drying, though personal results vary with humidity, slice thickness, and preparation. Leave room for that uncertainty.

How to Select the Right Dehydrator for Your Needs

Choosing the right food dehydrator starts with your eating habits, not its wattage. If you dry apple rings weekly, tray capacity matters more than decorative controls. The USDA explains that safe drying depends on controlling moisture, temperature, and storage. Its FoodKeeper guidance also recommends airtight containers after drying. Reliable models provide steady heat and even airflow. Some budget units dry unevenly. I learned this after finding chewy centers in banana slices.

Match the machine to your batch size. Four trays suit occasional snacks, while six or more suit garden harvests. A Grand View Research report projects the global food dehydrator market to grow at about 7% annually through 2030. That figure suggests rising interest, but market growth does not make every feature useful. Choose adjustable temperature settings, removable trays, washable parts, and a timer. The National Center for Home Food Preservation recommends about 140°F for many drying tasks. Still, texture needs personal judgment. I sometimes over-dry fruit because I trust the timer too much.

Tips: Test one small batch before buying extra trays. Place banana slices in a single layer. Check the center, not just the edges. If you prepare meat, follow current USDA safety guidance and use a calibrated thermometer. Consider kitchen space, noise, and cleaning time. A powerful machine can still become an expensive cupboard ornament.

2026 Best Food Dehydrator Machine Buying Guide - How to Select the Right Dehydrator for Your Needs
User Need Recommended Capacity Useful Temperature Range Preferred Airflow Design Practical Features Typical Power Class Selection Notes
Occasional herbs and small snacks 4–5 trays; approximately 0.3–0.6 m² of usable drying area 35–70°C / 95–158°F Rear or bottom fan with even heat distribution Adjustable thermostat, removable trays, transparent door or lid 250–400 W Choose a compact model that fits the available counter and storage space.
Regular fruit and vegetable preservation 5–7 trays; approximately 0.5–0.9 m² of usable drying area 35–70°C / 95–158°F Horizontal airflow is preferred for reduced flavor transfer and more consistent drying Digital timer, adjustable temperature, fine-mesh sheet, fruit-leather tray 400–600 W Prioritize usable tray area and consistent airflow over the highest advertised wattage.
Large household or garden harvests 8–12 trays; approximately 0.9–1.5 m² of usable drying area 35–70°C / 95–158°F Horizontal fan placement with adjustable rack spacing Stackable or removable trays, overheat protection, washable components, memory or auto-shutoff timer 500–800 W Confirm that the electrical rating matches the local outlet and that the unit has adequate ventilation clearance.
Jerky and other meat snacks 5–9 trays with enough vertical clearance for uniform strips At least 60°C / 140°F operating capability; follow current food-safety guidance for meat preparation Strong, even airflow with no obstructed fan path Stainless-steel or food-safe trays, drip protection, easy-clean surfaces, accurate temperature control 400–800 W Dehydrating does not replace safe handling, adequate heating, and hygienic preparation of meat.
Low-temperature foods and delicate ingredients 5–9 trays with flexible rack spacing 35–45°C / 95–113°F for low-temperature applications, subject to the recipe Gentle, continuous airflow with reliable low-temperature stability Precise controls, fine-mesh inserts, non-stick sheets, quiet operation 300–600 W Temperature accuracy and airflow consistency are more important than maximum heat output.
Frequent batch processing 9–12+ trays; approximately 1.0–1.8 m² of usable drying area 35–70°C / 95–158°F with stable temperature control Horizontal airflow, insulated cabinet, and independently accessible trays Long timer, replaceable parts, stainless-steel interior, robust hinges, clear controls 600–1,000 W Check the operating manual for continuous-use limits, cleaning instructions, and spare-part availability.
Energy-conscious operation Choose the smallest tray area that meets the normal batch size Use the lowest safe temperature suitable for the ingredient Well-sealed cabinet with efficient, even airflow Accurate thermostat, automatic shutoff, timer, insulated housing 250–700 W, depending on capacity Electricity use depends on power rating and run time; larger units are not automatically more efficient.
Easy cleaning and long-term use Any capacity; select removable parts that match the batch size A stable adjustable range is more important than extra settings Fan and air channels protected from food particles Dishwasher-safe trays where permitted, smooth surfaces, accessible filter or fan area, replaceable seals Based on capacity and airflow design Before buying, verify cleaning instructions and whether trays, mesh sheets, and seals can be replaced.
Buying reminder: Tray count alone does not indicate capacity. Compare the actual usable drying area, temperature accuracy, airflow direction, timer length, cleaning requirements, electrical rating, and available safety features.

Food Types, Drying Times, and Temperature Guidelines

2026 Best Food Dehydrator Machine Buying Guide

Food Types, Drying Times, and Temperature Guidelines

Choosing a food dehydrator starts with the ingredients you use most. Apple slices, banana pieces, and mango usually dry well at 55–60°C. Thin slices may take six to ten hours, while thicker pieces can need twelve hours. Turn them halfway if your machine has uneven airflow. They should feel leathery, not wet or sticky.

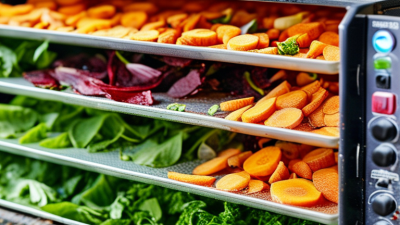
Vegetables often need a brief blanching step before drying. Carrot slices commonly require eight to twelve hours at 55°C. Tomato halves may take ten to fourteen hours because their centers hold moisture. Herbs dry faster, often within two to four hours at 35–40°C. Check them frequently. Delicate leaves can become brittle quickly.

Meat requires greater care. Use lean cuts, slice them evenly, and follow a tested food-safety method before dehydration. Many home users dry prepared meat strips at about 68°C, but appliance performance varies. A separate food thermometer helps confirm steady heat. I once overloaded a tray and found soft centers hours later. Better spacing would have prevented that mistake. Let dried foods cool completely before storage, then check the container for condensation during the next day. If moisture appears, dry the food again. Times are estimates, not promises. Ambient humidity, slice thickness, and machine airflow can change everything.

2026 Best Food Dehydrator Machine Buying Guide

Food types, typical drying times, and recommended temperature guidelines for selecting a home food dehydrator.

How to read the chart: The bars show representative drying times calculated from common home-dehydration ranges. Actual results depend on food thickness, moisture content, humidity, tray loading, and dehydrator airflow.

  • Fruits: Usually dry at approximately 135°F (57°C). Apples commonly take 6–12 hours, bananas 8–12 hours, and strawberries 8–12 hours.
  • Vegetables: Usually dry at approximately 125°F (52°C). Tomatoes commonly take 8–10 hours, while carrots may take 6–10 hours.
  • Beef jerky: Use lean meat sliced about ⅛–¼ inch thick. Heat meat to a safe internal temperature before or during drying according to food-safety guidance; a dehydrator setting around 145–160°F (63–71°C) is commonly used, with typical drying times of 4–8 hours.
  • Choose a machine with adjustable temperature control, consistent horizontal airflow, removable trays, and enough capacity for the amount of food you normally prepare.

Safety, Cleaning, Maintenance, and Storage Considerations

A safe food dehydrator starts with correct preparation and steady heat.
Wash hands, sanitize cutting boards, and slice food evenly for consistent drying. Follow a tested recipe for each ingredient, especially meat, fish, and high-moisture produce. A kitchen thermometer helps confirm safe internal temperatures. Do not overload trays, because blocked airflow can leave damp centers. That mistake is easy to miss.

Cleaning should begin after the machine cools and is unplugged. Remove trays and wash them with warm water and mild soap. Never immerse the motor base or allow water near electrical openings. Wipe the interior with a damp cloth, then dry every part completely. Check the cord, plug, seals, and ventilation openings for damage or buildup. The step I used to underestimate was airflow. Dusty vents can increase heat and shorten operating life.

Tips: Keep a small cleaning brush nearby. Label dried food with the date. Store it in airtight containers only after it feels fully dry. Keep the dehydrator covered in a cool, dry cabinet, but avoid wrapping it while moisture remains inside. Inspect it before each use. If the fan sounds rough or the temperature changes unexpectedly, stop operation and arrange qualified repair rather than guessing.