How to Use a Vegetable Air Dryer Effectively for Maximum Freshness?
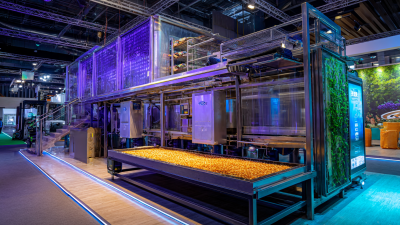
In recent years, the demand for fresh vegetables has surged, reflecting a shift in consumer preferences. According to the USDA, about 70% of households prioritize fresh produce in their diets. To maintain this freshness, many have turned to the Vegetable Air Dryer. This innovative tool effectively removes moisture while preserving flavor and nutrients.
However, using a Vegetable Air Dryer is not always straightforward. Many users overlook the importance of pre-treatment methods, which can significantly enhance results. A study by the Food Preservation Institute reveals that proper vegetable preparation can improve drying efficiency by up to 25%. It’s essential to understand optimal drying times and the thickness of vegetable slices, as these factors can influence final outcomes.
Despite its advantages, the Vegetable Air Dryer can have a learning curve. Users may face challenges like uneven drying or loss of texture. Acknowledging these issues is the first step towards mastering the process. By refining techniques and paying attention to details, one can achieve maximum freshness while minimizing waste. The potential of the Vegetable Air Dryer is immense when used effectively.
Understanding the Basics of Vegetable Air Drying Techniques
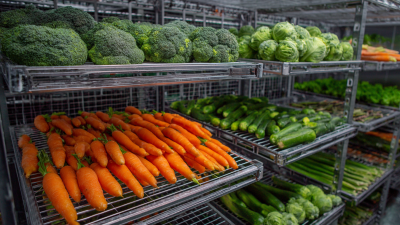
Air drying vegetables is an effective method for preserving freshness. Understanding the core techniques is crucial. Begin by selecting high-quality vegetables. Avoid those with bruises or blemishes. Rinse them thoroughly to remove dirt and pesticides. Slice them uniformly to ensure even drying.
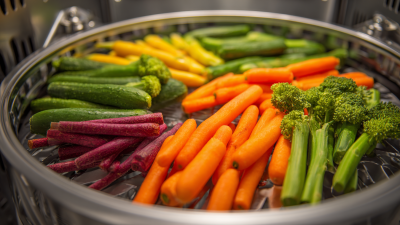
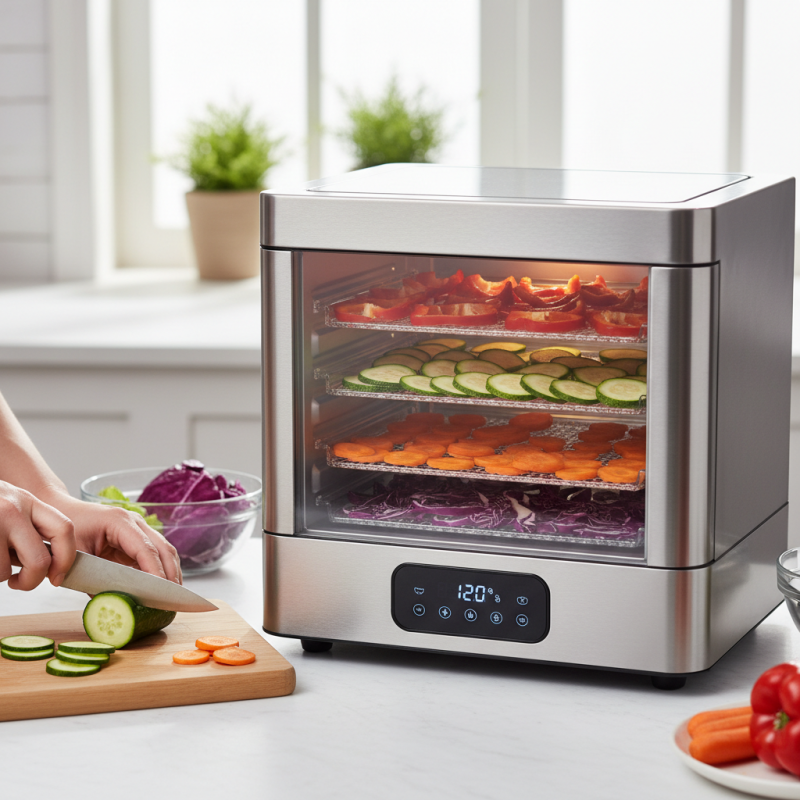
The drying process requires patience. Spread the vegetables in a single layer on trays. Make sure they are not overcrowded. This allows air to circulate freely. Maintain a consistent temperature. A temperature range between 130°F and 140°F works well. Monitor the drying progress closely. It’s easy to overlook them as time passes.
Occasionally, check for moisture retention. Over-drying can lead to nutrient loss. If vegetables feel crispy, they are likely ready. It's okay if some pieces remain slightly chewy. This can enhance flavor in dishes later. Experiment with different vegetables to learn their drying times. Don't be discouraged by initial failures. Each attempt improves your technique.
How to Use a Vegetable Air Dryer Effectively for Maximum Freshness? - Understanding the Basics of Vegetable Air Drying Techniques
| Vegetable Type |
Preparation Method |
Recommended Drying Temperature (°F) |
Drying Time (Hours) |
Storage Instructions |
| Carrots |
Peel and slice |
125 |
6-8 |
Store in an airtight container in a cool, dark place |
| Tomatoes |
Cut into halves or quarters |
135 |
6-12 |
Store in vacuum-sealed bags |
| Bell Peppers |
Chop into slices or dice |
125 |
8-10 |
Keep in an airtight container |
| Zucchini |
Slice into rounds |
125 |
6-8 |
Use mylar bags for storage |
| Onions |
Chop or slice |
140 |
10-12 |
Store in a cool, dry place |
Choosing the Right Vegetables for Air Drying
Choosing the right vegetables for air drying is crucial for preserving flavor and texture. Certain vegetables simply dry better than others. For example, tomatoes and bell peppers contain low moisture levels. Their rich flavors concentrate beautifully during drying. On the other hand, leafy greens can become overly crisp, losing their taste. Thus, it’s essential to select wisely.
Root vegetables such as carrots and potatoes can also be excellent choices. Their sturdy nature allows for longer storage. However, they require careful preparation. Slicing them uniformly helps ensure even drying. Too thick, and some parts will remain chewy. Too thin, and they risk crumbling.
Consideration of seasonal freshness is important too. Using overripe vegetables may lead to disappointing results. Fresh produce maximizes taste and nutritional value. It’s a small but essential factor in air drying. Remember, not all vegetables will yield desirable outcomes. Experimentation can lead to surprising discoveries, reflecting the beauty of the process.
Vegetable Air Drying Effectiveness
This bar chart illustrates the effectiveness of air drying on various types of vegetables, based on their moisture content reduction. The data shows the percentage of moisture removed after air drying for 24 hours.
Step-by-Step Guide to Preparing Vegetables for Drying
Preparing vegetables for drying is crucial for achieving the best results. Start by selecting fresh, high-quality vegetables. Choose ones that are in season for optimal flavor. Wash them thoroughly under cold running water. This helps remove dirt and pesticides. Then, cut the vegetables into uniform pieces. This ensures even drying, making your vegetables more palatable. Remember, uneven sizes can lead to some pieces being over-dried while others remain soggy.
Blanching is an important step. This involves boiling the vegetables briefly, followed by plunging them into ice water. Blanching helps preserve color, flavor, and nutrients. It also prepares the vegetables by softening them for better drying. Take care not to over-blanch, as this can lead to a mushy texture. Monitor the clock closely. Air-drying can take hours, so patience is essential. Make sure to rotate the trays in your air dryer periodically. This prevents hot spots and ensures an even drying process.
Optimal Conditions for Using a Vegetable Air Dryer
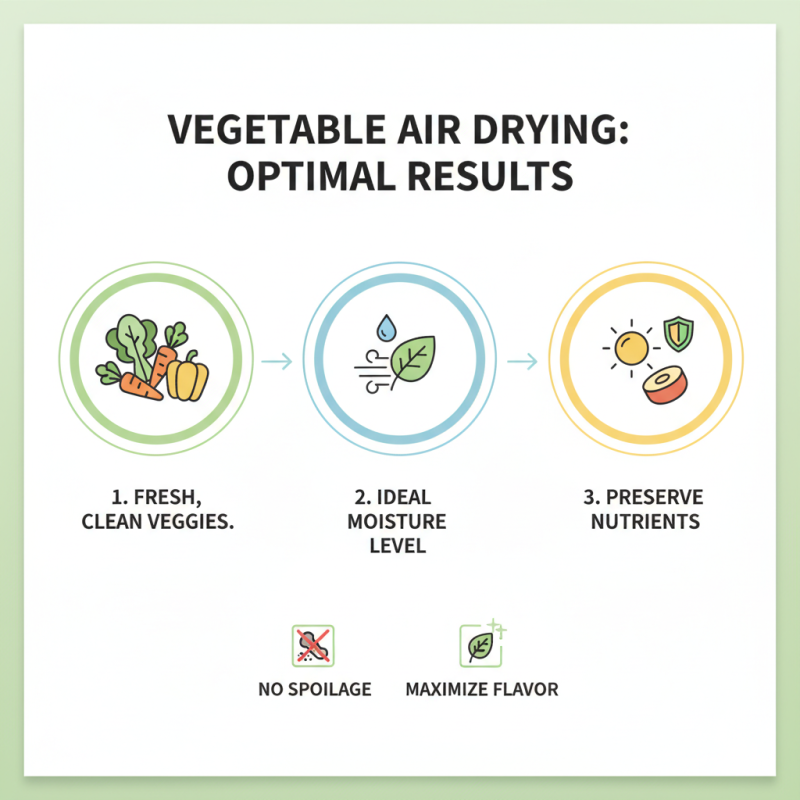
When using a vegetable air dryer, the conditions play a crucial role in achieving the best results. Start with selecting fresh vegetables. They should be clean and free from blemishes. The ideal moisture level is essential. Too wet can lead to spoilage, while too dry may cause loss of nutrients.
Temperature settings are key. A lower temperature maintains freshness while removing moisture. A range of 125°F to 135°F works well. This temperature ensures that vegetables retain most of their vitamins and colors. However, if your air dryer is too hot, you could end up with a dry, unappetizing texture.
**Tips:** Cut vegetables into uniform sizes. This helps them dry evenly. Some vegetables need blanching before drying. It’s a step many skip, but it matters. Monitor the drying time; checking every half hour can prevent over-drying.
Air circulation is vital. Ensure the dryer is not overcrowded. Stacks of vegetables can trap humidity. Remember, not all vegetables dry at the same rate. Keep a journal of your drying times. Learning from mistakes leads to better results.
Storing Dried Vegetables for Maximum Freshness and Flavor
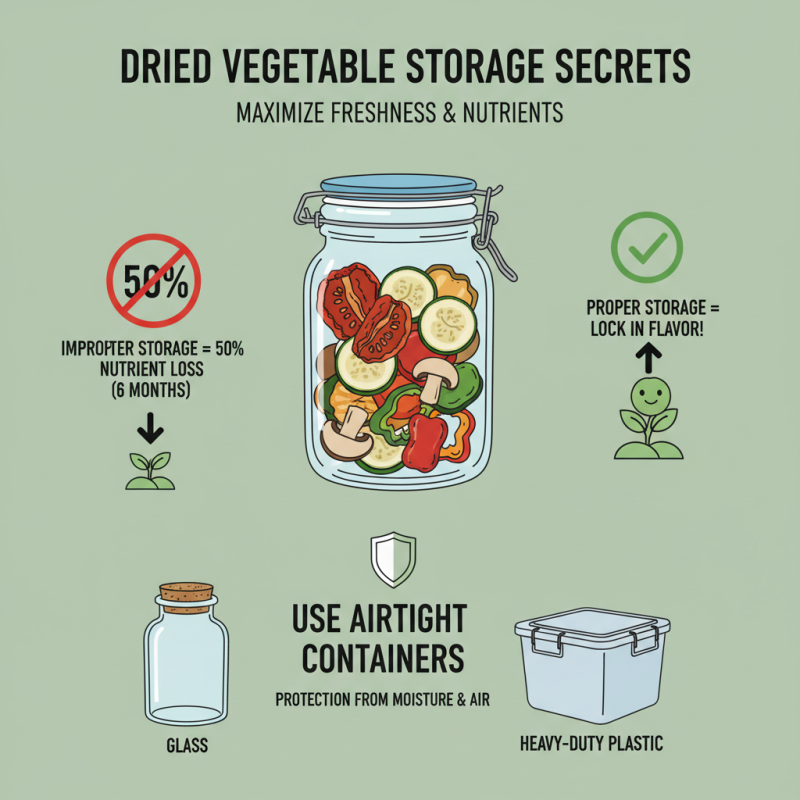
Storing dried vegetables properly is crucial for retaining maximum freshness and flavor. According to industry reports, improperly stored dried vegetables can lose up to 50% of their nutrient content within just six months. To counter this, use airtight containers made of glass or heavy-duty plastic. These materials protect against moisture and air, both of which can lead to spoilage.
It's important to keep your storage area cool and dark. Light and heat can degrade the quality of dried vegetables. A pantry or cupboard is ideal, but make sure it's not near the stove or oven. Remember that dried vegetables, despite being stable, can still attract pests. If you notice any signs of infestation, it might be time to reevaluate your storage methods.
Tips: Vacuum sealing is an effective way to extend shelf life. You could also consider freezing dried vegetables for up to a year, but this is not as common. Don’t forget to label your containers with the date of storage; it’s easy to lose track over time. While drying vegetables is a great way to enjoy their flavor later, storing them without the right precautions could leave them stale or unappetizing. Always double-check your methods for a more satisfying culinary experience.